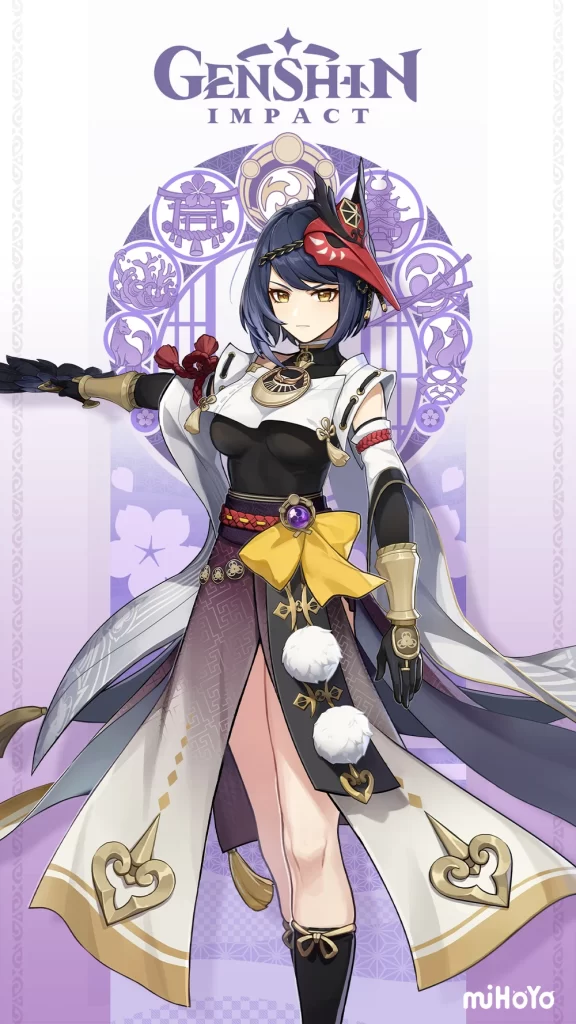
Kujou Sara Build Guide (Patch 4.3)
| Electro Support Sara | |
|---|---|
|
|
|
|
Emblem of Severed Fate (4) |
Sands - ATK / ER |
|
|
|
Raiden Hypercarry |
Sara’s Role and Skills
Kujou Sara functions as a support character that buffs her team ATK through both her Elemental Skill and Burst. Her Elemental Burst (Q) does a huge AOE electro damage and buffs any active character within its AOE. Her Elemental Skill (E) causes her to dash backwards and create a Crowfeather on the location of her next Charged shot. Once the Crowfeather explodes, the character within its AOE will receive an ATK buff base on Kujou Sara’s Base ATK.
Kujou Sara main weakness is that she has a high burst energy requirement of 80. Her next drawback is that her ATK buffs are incredibly short and applies to only one active character on the field. This limits her versatility in team comps and rotation as you’ll probably want to switch onto your main DPS right after using her. Apart from that, her play-style is clunky and hard to use especially if you don’t have her at least at C2.
Despite her weaknesses, she works fairly well in electro-focus teams as she can both give and benefit from electro particles. At C6, electro DMG of characters who have had their ATK increased by Kujou Sara’s buff also has their Crit DMG increased by 60%. This is the sole reason why you’ll always see her being utilized in electro hypercarry team (Raiden hypercarry).
Artifact set
![]() Emblem of Severed Fate (4)
Emblem of Severed Fate (4)
EoSF is Sara’s best artifact as it buffs her Burst damage while also helps her energy problems. Since a proper built Sara will most probably have a high ER, she can easily obtain the max 75% bonus DMG from the set.
![]() Noblesse Oblige (4)
Noblesse Oblige (4)
A decent option as it allows Sara to provide another additional ATK buff from the set. If you’re going for ‘Damage Per Screenshot’ showcases with Raiden Hypecarry, this is the set you should use.
![]()
![]()
Noblesse Oblige (2)
Thundering Fury (2)
An okay option to boost Sara’s own personal damage primarily form her Burst.
![]()
![]()
Noblesse Oblige (2)
18% ATK set (2)
An okay option to boost Sara’s own personal damage primarily form her Burst.
Weapon
![]() Elegy for the End (5✩)
Elegy for the End (5✩)
Elegy is Sara’s best 5-star support weapon as the cooldown on the weapon’s passive aligns perfectly with her Burst cooldown.
It has lower base ATK if compared with Skyward Harp, but can be considered better than Skyward Harp due to its teamwide ATK% and EM buff. It’s worth noting that Sara can experience issues triggering the Elegy passive consistently, against small hitbox single-target scenarios.
![]() Skyward Harp (5✩)
Skyward Harp (5✩)
Skyward Harp is Sara’s best generalist option, with a passive that increases her own personal damage and the second best buffing capabilities of any bow due to its high base ATK.
![]() Mouun’s Moon (4✩)
Mouun’s Moon (4✩)
At R5 this weapon can compete with other 5-star bow for personal damage due to the massive DMG buff you’ll gain from its passive. It has the highest base ATK on a 4-star bow and also has ATK as its secondary stat.
Its only drawback is that it doesn’t contribute to Sara’s ER.
![]() Fading Twilight (4✩)
Fading Twilight (4✩)
One of the best ‘F2P’ weapon for Sara that was given during the Perilous Trail event. It has the highest base ATK on a 4-star bow that also comes with ER as its secondary stat, both which benefits Sara massively.
![]() Sacrificial Bow (4✩)
Sacrificial Bow (4✩)
The combination of high base ATK and a Energy Recharge substat makes this one of her best 4-star weapon options in teams where she needs a Energy Recharge weapon to meet energy requirements and battery another Electro unit at the same time.
Talent
C0-C6
Skill (E) > Burst (Q)
Regardless if you have Sara at C0 or C6 you’ll always want to prioritize her Skill over anything else as the ATK Bonus (Tengu Juurai) from her kit scales relative to its level. Its also the only reliable way to get her ATK Bonus without relying on her Burst every rotation. Her Burst mainly is there for personal damage.
Main stat and substat
![]() Sand: Energy Recharge / ATK%
Sand: Energy Recharge / ATK%![]() Goblet: Electro DMG
Goblet: Electro DMG![]() Circlet: Crit Rate / DMG
Circlet: Crit Rate / DMG
- Energy Recharge
- Crit Rate / DMG
- ATK%
- Flat ATK
Energy Recharge Requirements
- General recomendation: +200%
- Raiden Hypercarry: ~180%
- Triple Electro comp: ~170%
- Solo Electro (Only Sara): ~240%
Kujou Sara’s should ideally have an upwards of +200% ER but this figure will depend primarily on your team composition. If you’re running her in an electro heavy comp, her ER should be around ~170% ER. In a Raiden Hypercarry comp, she can get by with ~180% ER due to Raiden’s Burst helping her ER.
Constellation
C6 > C2 > C5

