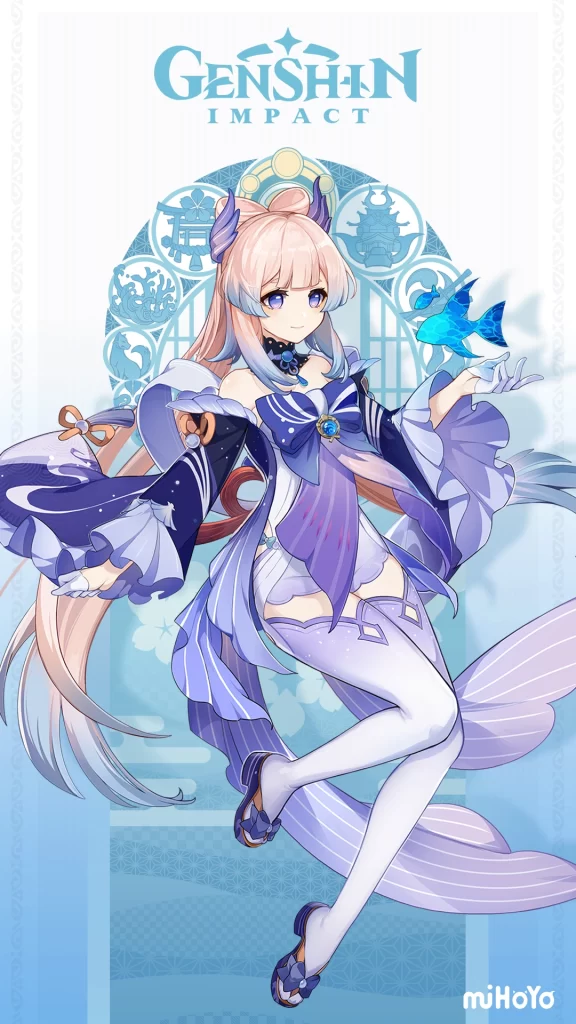
Kokomi Build Guide (Patch 3.8)
| Healer Kokomi | |
|---|---|
|
|
|
|
Ocean-Hued Clam (4) |
Sands - HP% / Energy Recharge |
|
|
|
Sukokomon |
| Bloom Kokomi | |
|---|---|
|
|
|
|
Flower of Paradise Lost (4) |
Sands - EM |
|
|
|
Nilou Bloom |
Kokomi’s Role and Skills
Kokomi’s role in a team is a support healer and an on/off field hydro enabler for her team. With split scaling in her talent design, -100% in Crit Rate as a passive and DPS-heavy focus design for her Best In Slot (BiS) weapon (Everlasting Moonglow), many players would assume that Kokomi serves as a hybrid between support healer and DPS. However, meta wise her best role in a team is as a healer and hydro enabler. Hence why you won’t see her BiS weapon being recommended in this guide or any guide outside of a DPS Kokomi build.
How To Build Kokomi
Support Kokomi focuses on just using her Burst right before her Elemental Skill’s duration ends to refresh her skill duration. This allows 100% uptime on Hydro application from her Elemental Skill for Freeze / Electro-charge teams. This is fundamental in using Kokomi meta wise.
For artifact and weapon stat, concentrate building her on Energy Recharge and HP%. This gives her high uptime on her Burst and heals. Avoid Crit DMG / Rate and ATK stat at all cost since she cannot utilize them!
If you’re running Kokomi on a Nilou Bloom team, Elemental Mastery would take priority over anything since she can sometimes proc the Bloom.
Artifact set
![]() Ocean-Hued Clam (4)
Ocean-Hued Clam (4)
If she is being used to attack onfield during Elemental Burst, this set may overtake Tenacity of the Millelith
![]() Tenacity of the Millelith (4)
Tenacity of the Millelith (4)
With proper extension of Kokomi’s Elemental Skill, she can maintain near 100% uptime on this artifact set’s 4 piece effect.
![]() Flower of Paradise Lost (4)
Flower of Paradise Lost (4)
Highest DPS for Bloom Kokomi team period due to the artifact set effect.
Weapon
![]() Thrilling Tales of Dragon Slayers (3✩)
Thrilling Tales of Dragon Slayers (3✩)
Although this weapon doesn’t provide as much personal damage for Kokomi, the 48% ATK buff is usually more worth in most cases. This can be her best weapon in for overall team DPS if you don’t already have another Thrilling Tales of Dragon Slayers user in your team.
![]() Sacrificial Fragments (4✩)
Sacrificial Fragments (4✩)
High EM stat and Elemental Skill refresh means that you can expect her E to be ready every time you swapped to Kokomi regardless if her Q is ready or not.
![]() A Thousand Floating Dreams (5✩)
A Thousand Floating Dreams (5✩)
Highest EM weapon for catalyst user and also boosts EM of her party.
Talent
Burst (Q) > Skill (E)
Regardless if you’re running Kokomi for Support or Bloom, her Q should always be a priority because it refreshes her E jellyfish on-field duration. This extends her hydro and healing application.
Main stat and substat (Healing)
![]() Sand: HP% / Energy Recharge
Sand: HP% / Energy Recharge![]() Goblet: HP%
Goblet: HP%![]() Circlet: HP% / Healing Bonus
Circlet: HP% / Healing Bonus
- Energy Recharge
- HP%
- ATK%
- Flat HP
Main stat and substat (Bloom)
![]() Sand: Elemental Mastery
Sand: Elemental Mastery![]() Goblet: Elemental Mastery
Goblet: Elemental Mastery![]() Circlet: Elemental Mastery
Circlet: Elemental Mastery
- Elemental Mastery
- Energy Recharge
- HP%
Electro-Charged Kokomi
Pre-Kokomi release, taser team suffered from a lack of healing and also contested the highly popular Xingqiu in their comp. Kokomi can provide both healing and also act as a fast hydro enabler for this comp. Both her fast normal attacks and AOE hydro capability of her Elemental Skill synergy well with Beidou’s Burst. Pair both of them up with another electro unit and an Anemo flex unit and you’ll have Kokomi’s most meta comp.

Electro-Charged Kokomi with TF Kazuha
With a 4 piece Thundering Fury on Kazuha, he can easily trigger the skill cooldown passive making his Elemental Skill (E) spammable. This is possible because both Kokomi and Fischl Elemental Skill (E) are acting as a turret for him. The fourth slot can be another Anemo or elector unit depending if you prefer Crowd Control (CC) or more damage.

SUPPORT
Support Kokomi focuses on just using her Elemental Burst before her Elemental Skill’s duration ends to refresh her skill duration. This allows 100% uptime on Hydro application from her Elemental Skill for Freeze / Electro-charge teams.
Regarding Weapon Choices:
Hakushin Ring: This weapon can provide Elemental DMG% for the team in Electro-charged teams and will outperform Prototype Amber if you value damage more than healing.
Sacrificial Fragments: Can be useful as Kokomi won’t need to use her Elemental Burst to reset her skill duration. This allows for smoother rotations as she will not face the problem of missing out on the reset for her Elemental Skill due to not casting Burst in time.
Regarding Artifact Choices:
Tenacity of the Milelith (4): With proper extension of Kokomi’s Elemental Skill, Kokomi can maintain near 100% uptime on this artifact set’s 4 piece effect.
Regarding Main Stats and Sub Stats:
Energy Recharge: Prioritise Energy Recharge first to ensure you can always use Elemental Burst before the Elemental Skill expires in order to maintain Hydro application. Without Prototype Amber, Kokomi will need ~200-220% Energy Recharge (170-190% with Prototype Amber at R1 and 150-170% at R5)
ATK% / Hydro DMG: If Kokomi is just being used to maintain 100% uptime on her Elemental Skill without using normal attacks during Elemental Burst, ATK% / Hydro DMG mainstat can be used to sacrifice her healing to instead maximise damage from Elemental Skill.
