Itto Build Guide (Patch 3.6)
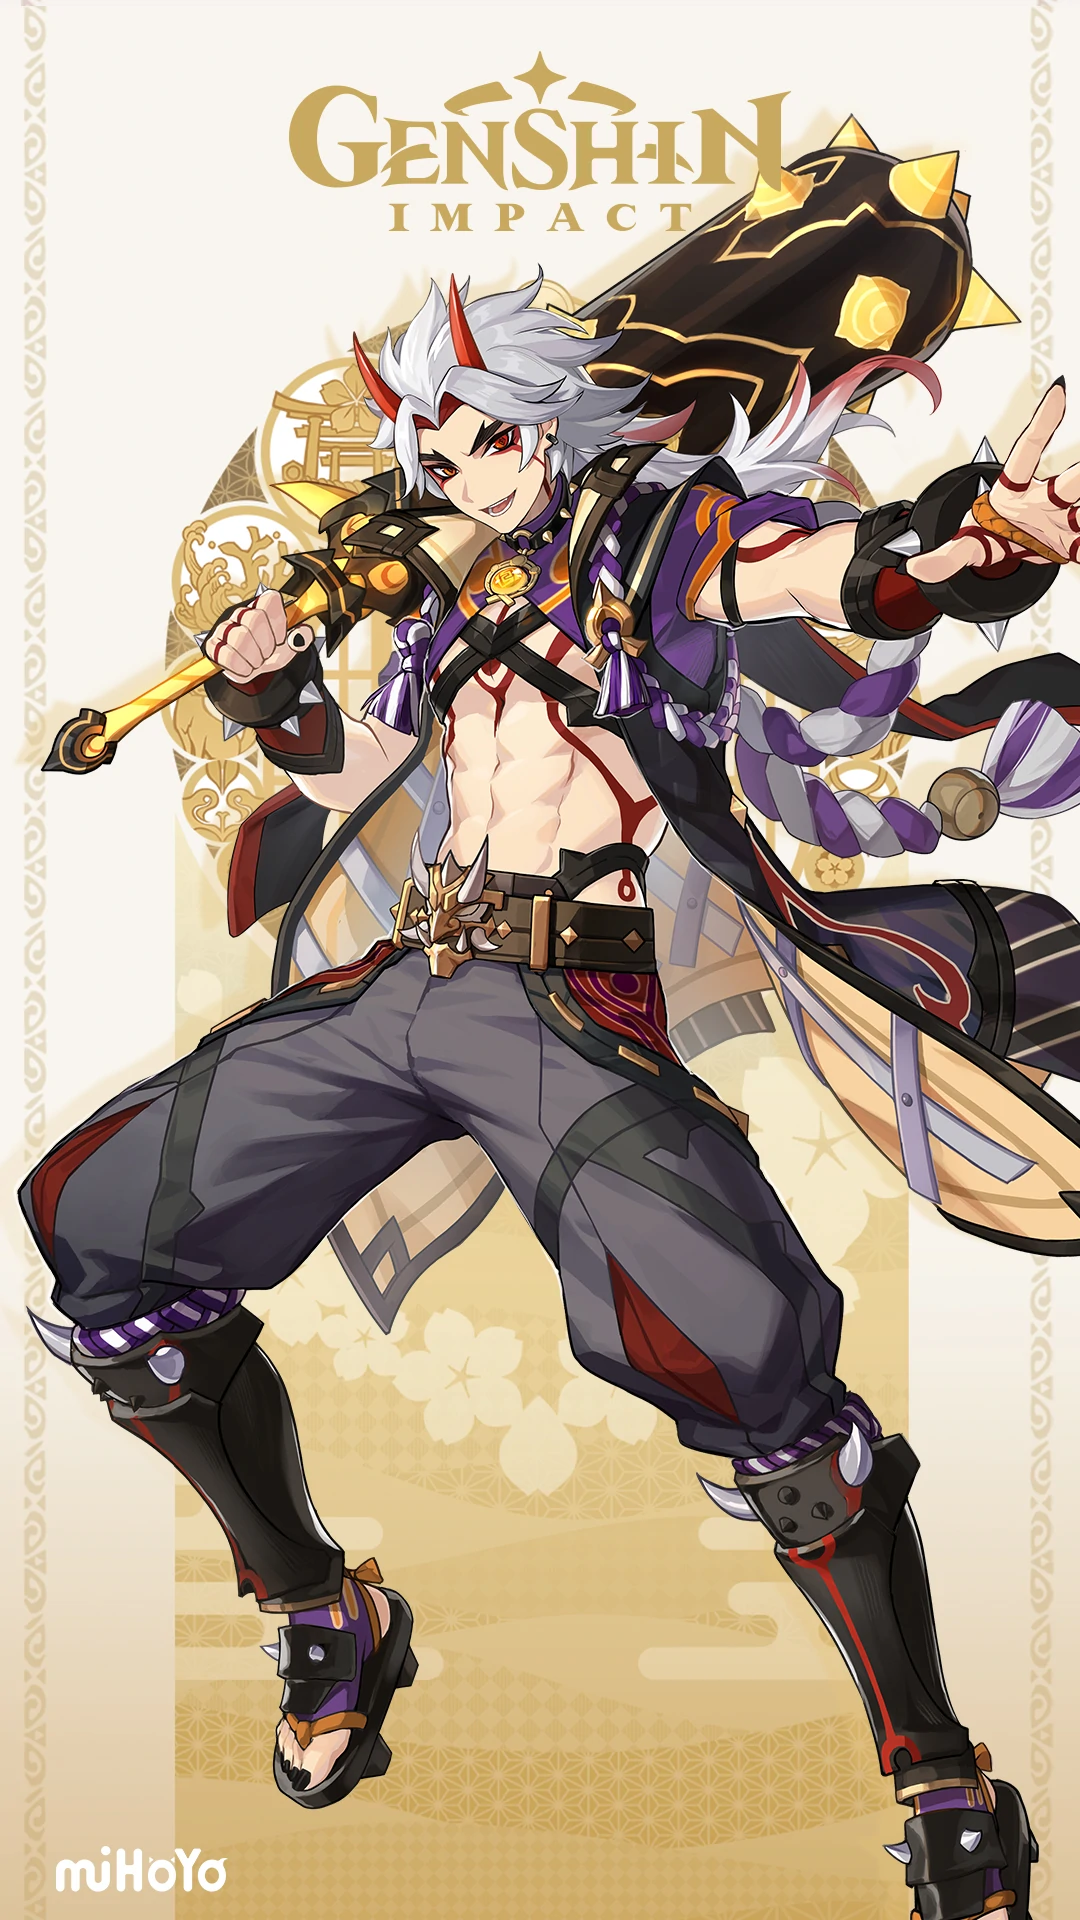
| Mono Geo Itto | |
|---|---|
|
|
|
|
Husk of Opulent Dreams (4) |
Sands - DEF |
|
|
|
Mono Geo |
Itto’s Role and Skills
Arataki Itto is a Geo hypercarry DPS that cycles between Normal and Charged Attacks to maximize his damage. He does this through infusing his NAs with Geo from his Burst (Q) while also utilizing his Superlative stacks efficiently so that his CA doesn’t use stamina.
His Skill (E) throws Ushi a miniature-sized bull onto the field dealing Geo DMG and taunting nearby enemies. Meanwhile his Burst (Q) converts Itto’s Normal, Charged and Pluging attacks into Geo DMG as well as increasing his Normal attack speed.
How does Itto uses Arataki Kesagiri slahes?
The majority of Itto’s DPS comes from Arataki Kesagiri slashes whenever he do Charged attacks. Arataki Kesagiri slashes do not consume stamina, instead each slash consumes 1 stack of Superlative Superstrength. When there is no stack of Superlative Strength, he will do a single Saichimonji Slash. For simplicity sake each Arataki Kesagiri is equivalent to each Superlative Superstrength.
1 Arataki Kesagiri slash = 1 Superlative Superstrength stack
Itto’s main source of DPS is from Arataki Kesagiri slashes
How does Superlative Superstrength stacks work?
Now that we understand the relationship between Arataki Kesagiri slashes and Superlative Superstrength stacks how are Superlative stacks gained?
- <Normal Attack> When the 2nd and 4th Normal attack hit opponents, Itto will gain 1 and 2 stacks of Superlative Superstrength, respectively.
- <Elemental Skill E> When Ushi hits opponents, Arataki Itto gains 1 stack of Superlative Superstrength.
- <Elemental Skill E> When Ushi takes DMG, Arataki Itto gains 1 stack of Superlative Superstrength. Only 1 stack can be gained in this way every 2s.
- <Elemental Skill E> Ushi will flee when its HP reaches 0 or its duration ends. It will grant Arataki Itto 1 stack of Superlative Superstrength when it leaves.
- <Elemental Burst Q> On hit, the 1st and 3rd strikes of his attack combo will each grant Arataki Itto 1 stack of Superlative Superstrength.
- Max 5 stacks. Triggering this effect will refresh the current duration of any existing stacks.
Itto’s stack mechanic might seem confusing for a lot of players however it is really easy to understand once you’ve separate it as its own thing.
Artifact set
![]() Husk of Opulent Dreams (4)
Husk of Opulent Dreams (4)
Itto’s Best in Slot (BiS) artifact as it gives both DEF and Geo DMG buff to the user. As long as you keep attacking with Itto, you can easily hit maximum stacks for the buffs. At max stacks, it provides 54% DEF and 24% Geo DMG Bonus for Itto.
The Husk of Opulent Dreams has been the goto choice for most DEF scaling characters after its release.
![]() Retracing Bolide (4)
Retracing Bolide (4)
Bolide can grant up to 40% Normal and Charged Attack DMG if Itto is shielded. However he can only generate Crystallize shards making the set unreliable. A consistent shielder such as Zhongli is preferred if you intend to use the Bolide.
Retracing Bolide still falls behind the Husk in ideal scenario.
![]()
![]()
Husk of Opulent Dreams (2) Archaic Petra (2)
A viable 2pc combo if you don’t have any other option. It provides an unconditional 30% DEF and 15% Geo DMG buff towards Itto.
![]() Desert Pavilion Chronicle (4)
Desert Pavilion Chronicle (4)
The Desert Pavilion is an unintended artifact that Itto can use due to him cycling between Charged and Normal Attacks in his combo.
Similar to Bolide it gives a 40% Normal and Charged Attack DMG Bonus but with an extra 10% NA speed buff. However, the speed buff does not affect his CA so it isn’t really substantial.
It still falls behind a Husk so it isn’t recommended to farm for.
Weapon
![]() Redhorn Stonethresher (5✩)
Redhorn Stonethresher (5✩)
Itto’s claymore
Redhorn is easily Itto’s best weapon due to its passive that provides an unconditional DEF, NA and CA buff. Unlike other signature weapons, its passive has no prerequisite requirement meaning that user gets its buff simply by wielding it.
It also comes with a whopping 88% Crit DMG stat making it one of the most offensive weapons ever.
![]() Serpent Spine (4✩)
Serpent Spine (4✩)
The CRIT Rate stat and passive DMG buff makes it Itto’s 2nd best option. When using Husk of Opulent Dreams, Serpent Spine stacks are prioritized over Husk stacks due to their conflicting nature in gaining them (On-Field vs Off-Field). You can gain max stacks on both Serpent Spine and the Husk set from second rotation onward.
![]() Skyward Pride (5✩)
Skyward Pride (5✩)
Can be a great or bad weapon for Itto depending on your ER needs. The less Energy Recharge you need (due to particle generation from your party members or ER from subs), the less useful this weapon becomes.
![]() Whiteblind (4✩)
Whiteblind (4✩)
Itto’s best ‘F2P’ weapon as its craftable and comes with a DEF stat that benefits him.
Your rotations often start with 1 stack of this weapon, and due to Itto’s Burst snapshotting DEF on cast, you’re unable to take advantage of further DEF% from the stacks. Gets better from the second rotation onwards, with the increased number of stacks.
![]() Blackcliff Slasher (4✩)
Blackcliff Slasher (4✩)
Technically better than the Whiteblind and viable for Itto due to its Crit DMG stat. Blackcliff is not recommended to obtain since you can only get the weapon from Paimon’s Bargains which requires Starglitter. Its far more efficient to spend Starglitter on Intertwined Fate instead.
Talent
C0-C6
Normal Attack (NA) > Burst (Q) > Skill (E)
Itto’s main source of damage is from his NA so its no surprise it would come first. His Q is mainly there to provide Geo infusion for NA hence it would come second.
Main stat and substat
![]() Sand: DEF%
Sand: DEF%![]() Goblet: Geo DMG
Goblet: Geo DMG![]() Circlet: Crit Rate / DMG
Circlet: Crit Rate / DMG
- Energy Recharge
- Crit Rate / DMG
- DEF%
- ATK%
Itto’s damage scales on DEF so prioritize that over ATK. You’ll also want to Burst (Q) every rotation since it provides him with Geo infusion and other buffs for his NA. So his ER should be meet before focusing on other substats.
Energy Recharge Requirements
- Double Geo: ~140%
- Generally: ~120%
- Triple Geo: ~110%
- Triple Geo (w/ Albedo) & Favonius: 100%
Constellation
C1 > C2 > C6
Teams




Triple Geo:
Itto / Albedo / Gorou / Bennett



Mono Geo:
Itto / Albedo / Gorou / Zhongli




Triple Geo (w/ Chiori):
Itto / Chiori / Gorou / Bennett
